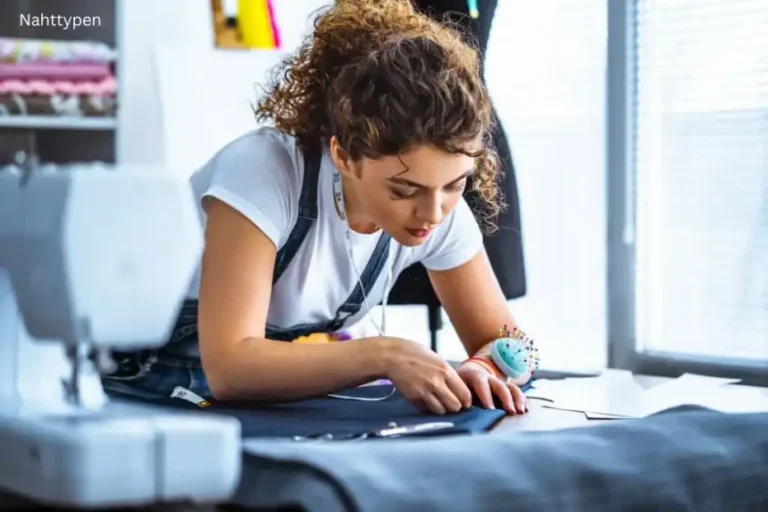
Sewing isn’t just about stitching fabric pieces together—it’s about crafting something functional and beautiful. And right at the heart of it all? Nahttypen—aka seam types. Whether you’re a newbie with a needle or a seasoned sewing enthusiast, understanding different seam types can totally change how your projects turn out.
What Does “Nahttypen” Mean?
In German, Nahttypen simply means “types of seams.” It’s the fancy term tailors and sewists use when talking about the different ways to join two pieces of fabric.
Why Seam Types Matter in Sewing
Think of seams as the skeleton of your garment. They hold everything together, but they also influence how a piece fits, looks, and wears. The right seam can add strength, prevent fraying, or even become a style element. Mess it up, and you’ll deal with puckering, weak spots, or uncomfortable edges. Yikes.
Basic Types of Seams
Let’s kick things off with the go-to seams you’ll run into early in your sewing journey.
Plain Seam
This is the most basic and common seam used in almost every project. You place two pieces of fabric right sides together, sew along the edge, and then press the seam open.
Best Use Cases
- Everyday clothing
- Quilts
- Basic home décor
French Seam
Want your seams to look as polished inside as out? Go with a French seam. It encloses the raw edges, making it perfect for delicate or see-through fabrics.
Ideal for Sheer Fabrics
- Chiffon
- Organza
- Lightweight cotton
Flat-Felled Seam
This one is heavy-duty. It’s used where strength matters and the inside needs to be as neat as the outside. You’ll spot it in jeans and workwear.
Durable and Clean
- Denim
- Outdoor clothing
- Sportswear
Advanced Seam Variations
Once you’ve nailed the basics, it’s time to level up with some advanced seam types.
Bound Seam
A bound seam involves covering the raw edges with bias tape or binding. It looks crisp and adds a decorative finish.
Lapped Seam
Instead of facing each other, the fabric edges overlap, and then you stitch them down. Super useful for thicker fabrics or special designs.
Double-Stitched Seam
This one’s about reinforcement. You stitch it twice, often using parallel lines of stitching. It’s perfect when durability is key.
Decorative Seam Types
Seams can be eye candy too! These types aren’t just about function—they bring the fashion.
Welt Seam
Think of it as a dressed-up flat-felled seam. It creates a raised edge on the outside for visual interest.
Piped Seam
Love a good contrast detail? Piped seams have a cord or piping inserted into the seam. It pops in pillows, cushions, and fashion design.
Seam Finishing Techniques
Even a great seam needs a good finish to keep it neat and lasting.
Serged Seams
If you’ve got a serger (aka overlock machine), you can whip through seam finishing like a pro. It cuts and seals the edge in one go.
Zigzag Finish
No serger? No problem. Use a zigzag stitch along the raw edge with your regular machine. It works great to prevent fraying.
Pinked Edges
Grab your pinking shears and cut a zigzag pattern. It’s a fast, no-fuss way to keep simple fabrics from unraveling.
Choosing the Right Seam Type
Not every seam works for every fabric or garment. Here’s how to choose wisely.
Based on Fabric Type
- Lightweight fabrics like voile: Go French or bound
- Heavyweight fabrics like denim: Flat-felled or double-stitched
- Stretch fabrics: Use seams that allow give (serged or reinforced with stretch stitch)
Based on Garment Function
- Daily wear: Go simple but durable
- Formal wear: Choose elegant finishes like French seams
- Athletic wear: Needs reinforced or stretch-friendly seams
Common Mistakes with Seams
We’ve all been there—don’t sweat it if you’ve made a few of these before.
Not Matching Seam Type to Fabric
A delicate fabric with a chunky seam? Big nope. Always test your seam on a scrap piece first.
Ignoring Seam Allowance
That little margin is your lifeline. If you forget to factor it in, your garment might turn out too small or lose its shape.
Tips for Perfect Seams Every Time
Let’s wrap up this section with some golden rules.
Use Quality Thread
Cheap thread = weak seams. Splurge a little on good-quality thread—it’s worth it in the long run.
Press Your Seams
Pressing is like ironing’s cooler cousin. It flattens your seams and gives a crisp, professional finish. Do it often!
Conclusion
Understanding Nahttypen isn’t just about being “technically correct”—it’s about transforming your sewing game. From basic to decorative, every seam tells a story and serves a purpose. The more you know, the more control you have over how your pieces turn out. So next time you pick up your fabric and thread, think about what your seams are saying. Are they neat, strong, invisible, or show-stopping? Choose wisely, and stitch on, friend!

